In the Garden: Collect and save some heirloom vegetable seeds
Boost the beauty and pollinator appeal of your gardens and containers with flowering bulbs. A combination of spring- and fall-planted bulbs can provide season-long color and nectar for bees, butterflies, hummingbirds and other pollinators. Include a few dahlias known for their excellent pollinator appeal. The award-winning Collarette Pooh grows 24
Click here to read more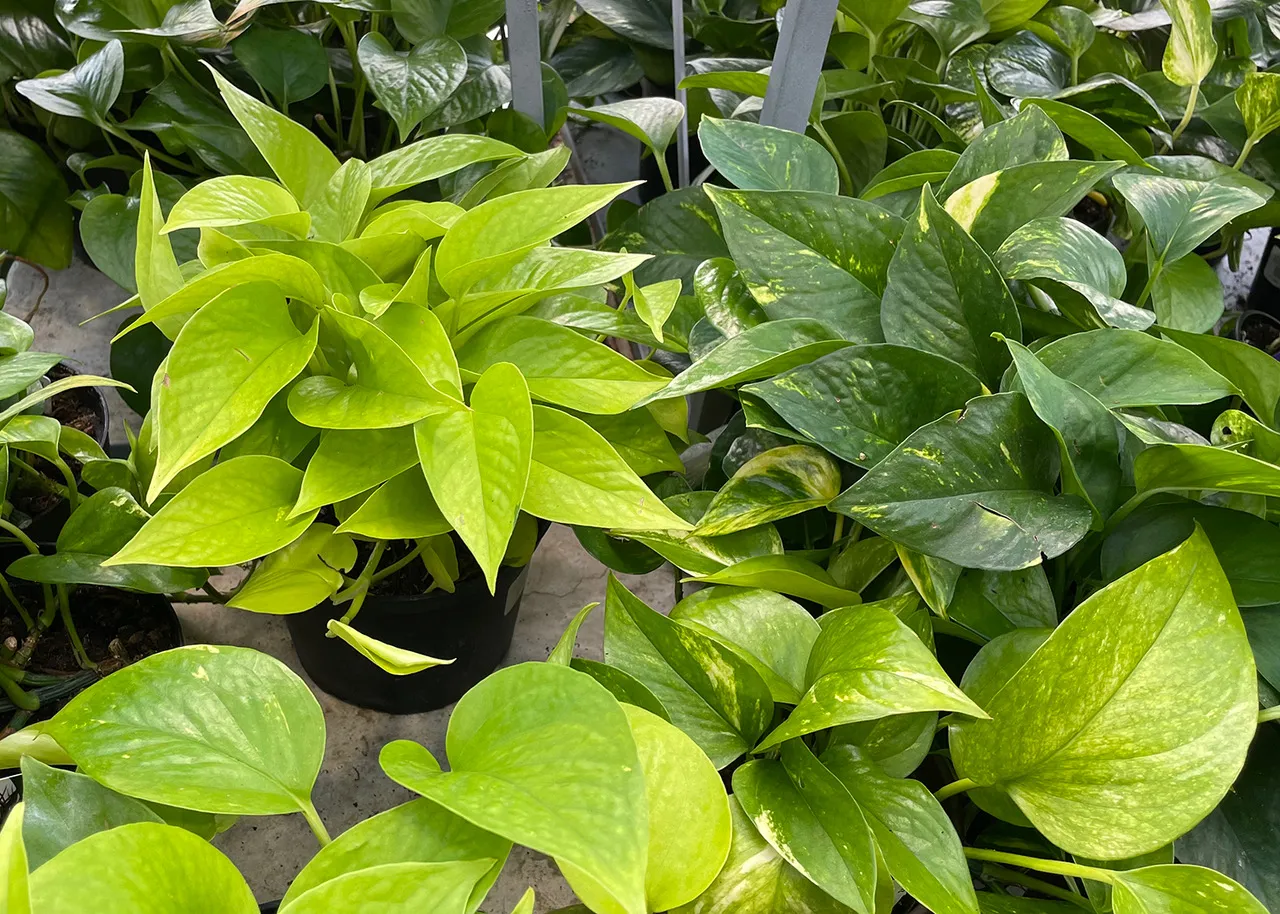
Add a bit of greenery to your home’s décor with a few new plants. Match the plants to your style and the growing conditions in each room to create the desired results. Consider the time you have and want to invest in caring for plants when selecting and placing
Click here to read more